
Battleframe Specific Thumper Tactics
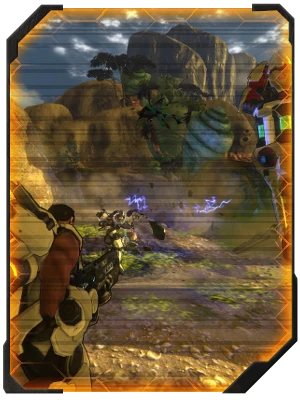
In our Tactical Thumper Placement guide we explained the key points on why the scenery and what enemies you are facing should be considered before dropping a Thumper. This part of the guide is now going to look at what loadout and tactics you should be using with each battleframe once you have an ideal spot picked out and your Thumper is happily drilling away.
THUMPING TACTICS AND LOADOUT RECOMMENDATIONS
Certain battleframes and loadouts will have distinct advantages while thumping but in reality they can all contribute in significant ways as long as the operator uses certain tactics. However there are two key points to remember about thumping which will benefit any battleframe:
AREA EFFECT IS KING
This cannot be overstated enough, when you have swarming threats converging on a single point which you are defending then AoE is going to be very, very effective. If there is any lesson you take away from this guide let it be that. Thumping is all about aggro management and the more enemies you can hit at once the more aggro you will draw, as soon as they stop taking damage for a while they can lose interest in the player and find the thumper more appealing. Some threats will also ignore you until you have caused enough damage to them, so sweeping over a crowd with a rapid fire weapon isn't always effective since each hit only does a small amount of damage. For rapid fire weapons to really work you need to use a Dreadnaught's heavy machine gun which fires so rapidly that even a sweeping motion does plenty of damage to each enemy.
Every battleframe has access to AoE capabilities, some more than others. But at the very least they can use the grenade launcher secondary weapon. If you get even a decent Stage 1 Grenade launcher then you will be sweeping away swarms of weaker enemies like your basic Aranha in a single blast. If you prefer rapid fire weapons like the SMG or Assault Rifle you will find you need to focus at the threats one by one, but with a grenade you just toss two of them on either side of the Thumper without much attention.
That is also something to remember, the Thumper is a solid object. Although the collision box is smaller than what you actually see as the Thumper it is still possible for an enemy to stand on the opposite side from where your AoE is being fired and be perfectly safe. So you may need to sweep around to the opposite side to clear away any survivors.
OLD SKOOL CIRCLE STRAFING
Many of the threats in Firefall aren't that different to the enemies you may have faced back in the days of Wolfenstein 3D or DOOM. They will march in roughly a straight line to you or simply move forwards until they reach a distance to use their ranged attacks and then stand there mindlessly spamming it. The Chosen are a bit smarter about this but creatures are very predictable and therefore very easy to manipulate.
If you are unfamiliar with circle-strafing the concept is simple.
Since enemies will constantly move closer to you it is possible to cause them to be herded into a tight crowd by continually circling around them while strafing to keep them in your sights. You need to keep an eye on the ranged ones and move slightly further away as you circle to force them to move forwards and into the group you have herded together. Once they are in amidst the crowd you can move closer again. This allows for much easier aggro management and makes AoE very effective. Typically it is best to only use the jump jets in short bursts so that you appear to be making long sweeping hops as you circle around. This will make it especially hard for ranged attackers to land a hit on you.
SQUAD THUMPING AND ROLES
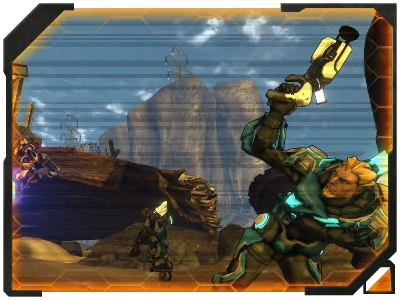
While it is possible to solo Thumpers they become increasingly more difficult to get to 100% capacity once you start using Medium Personal or Squad Thumpers. Furthermore what advice this guide can provide for each battleframe is intended for teams but can also be applied to soloing when dealing with recommendations for specific battleframe loadouts. If you are soloing you may also find the Defender tips useful since that would be your best approach.
The best place to start with squad tactics is to cover the standard roles which can be applied to any successful team with a structured approach to thumping. In short, the team is split into two roles.
DEFENDERS
The first role is the players who focus entirely on the thumper, acting as bodyguards to keep anything away from it or killing anything that got too close. This team needs to take responsibility for the weaker mobs which arrive in swarms and can be quickly dealt with. If they can pick these off at a distance then great but their primary role is to keep there eyes out for anything which has slipped past their Sweepers.
They should avoid damaging any of the larger enemies as this will draw them near to the thumper, since these players should not wander far from the area around the Thumper they need to avoid causing tougher enemies to move towards you and cause you to become distracted for an extended period of time or forced to retreat. If this does happen then a squad-mate needs to assist with the threat to remove it as quickly as possible so the Defenders can return their attention back to the Thumper. Defenders need to focus on AoE abilities, rapid fire weapons and personal survival skills. They should never retreat very far from the thumper, as it makes it harder to defend at a distance or to fail to notice smaller mobs on the opposite side from you. So ideally they need to be able to protect and sustain themselves without being able to move around much. For this reason the role is best suited to the Dreadnaught, Engineer and Biotech.
SWEEPERS
The second role is squad mates who are sweeping around the perimeter of where enemies spawn, they focus on the tougher threats while causing any kind of damage possible to as many enemies as possible. The aim is distract the horde while focussing your fire-power on the larger threats among them. This can be a juggling act as you need to split your attention this is why it is recommended that a Sweeper has at least one AoE weapon and some solid single target DPS.
Most creatures and Chosen will not ignore a player as long as they have been recently damaged by them. If a Sweeper sees one of the tougher enemies or bosses heading for the thumper they need to focus attention on them to either lure them away or weaken them enough for the Defenders to finish them off quickly. Any which do get near to the thumper need to be aggro'd and led away from it asap. Further to this they need to be aware of any Exploders which have spawned and intercept as many as possible before they get near to the area the Defenders are protecting.
Sweepers need to be on the move all the time and able to have significant single target damage potential so they can quickly defeat bosses and tough enemies. Large quantities of health and survival abilities are less important as you will be getting plenty of health and ammo drops from enemies you are dancing with around the perimeter. However high mobility is critical so you can move quickly to new spawns and stay ahead the angry mob you are maintaining. For this reason the role is best suited to Assaults and Recon. Now because of the flexible nature of loadouts the suggestions for battleframes here are not set in stone. Indeed an Electron Engineer is more than capable of functioning on a sweeper team if equipped with minimal stationary deployables and a Recon can sit at a distance functioning as a Defender. But for best performance it is recommended that these suggested battleframes are used.
BATTLEFRAME SPECIFIC ADVICE
BIOTECH
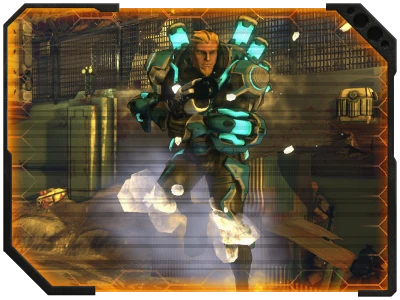
While it may not be in the best position as a sweeper it does prove to be one of the best choices as a Defender. This is down to the large quantity of AoE abilities they have access to and their ability to self-heal.
DEFENDER
Get every AoE ability around, preferably the ones that don't take time to heal targets since you need to put them down quickly due to how close they are to the Thumper. The poison abilities are also great at maintaining aggro that little bit longer. The regenerative plating is going to be very useful and Dragonfly's will find Healing Pillar especially useful for holding their ground.
SWEEPER
While they lack the high single target damage of the Assault and Recon they are excellent at drawing aggro because of the poison abilities they can use. They also have the mobility to keep ahead of the crowd and move from spawn to spawn with ease. Other sweepers in the area will also appreciate any healing abilities.
ENGINEER
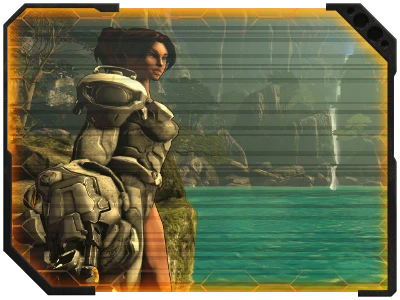
Everyone knows that the Engineer is by far one of the best battleframes for thumping. Their ability to create physical barriers and their auto-targeting turrets allow them to almost be in several places at once. The Bastion and Electron frames are very different animals however but can be made to function in both roles with some tweaking.
DEFENDER
The Bastion is the master of this but the other engineer types can still perform really well with their turrets and traps. High mobility is less of an issue compared to defensive abilities. Having the grenade launcher here as a secondary is going to really be essential however as AoE abilities are going to be somewhat limited. The shield wall and quick-deploy shield are also excellent to protect the thumper from attacks.
SWEEPER
Engineers will struggle with being a Sweeper with the exception of the Electron which has the Shock Rifle, Electrical Storm to back them up. The Overcloking station will also provide a huge boost to mobility. Stationary deployables are going to be less useful here unless you are able to shepherd the crowd of enemies around turrets or lead them into traps. However turrets will also cause issues with controlling aggro.
RECON
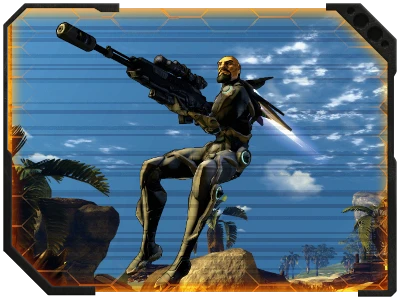
Out of all the battleframes the Recon has to work the hardest to be effective while thumping. They are not suited for handling massive crowds of enemies but are excellent for quickly executing dangerous targets. With some practice they can be made to work quite effectively though.
DEFENDER
Unlike other defenders the Recon cannot easily sit next to the thumper to do their job. They are much better at finding an ideal position nearby and sniping threats and using a grenade launcher to send volleys in against swarms of lesser threats. Their narrow perspective while zoomed in can really compromise their peripheral vision and prevent them seeing threats coming from a direction they are not focussing on. If you have a talent for quick-sniping however you will find it allows you to move much closer to the thumper without restricting your situational awareness.
SWEEPER
Because they don't need to worry about quickly killing swarms as a sweeper the Recon performs this role very effectively. They have the mobility to stay out of harms way and the rifles allow them to execute tough enemies faster than most other battleframes. They will need to invest in the grenade launcher so they can keep the crowd of enemies interested in them. If you are the Nighthawk, you are better off firing from the ground through the crowd of angry mobs so that the shot penetrates through as many as possible.
ASSAULT
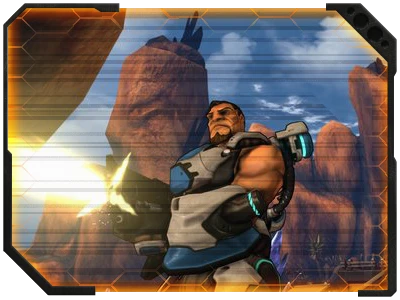
Out of all the battleframes the Assault is one of the most likely to be able to easily fall into either role while thumping. They have both the AoE and single target DPS to be effective at either combined with their potential for speed and durability. Many players underestimate just how good Assaults are for thumping.
DEFENDER
As a defender you can rely on the Plasma Cannon and its variants most of the time, equip the grenade launcher as a secondary for situations when you don't really want to be stuck reloading the cannon. Switch over and keep hammering away. Crater is great here as is Overcharge. Basically if it does AoE or boosts your damage, take it.
SWEEPER
While any of the Assault frames will perform well here the Tigerclaw will have the advantage with their extra mobility. You won't be needing a secondary grenade launcher as much here and you may find a really good assault rifle is great for chewing into the tougher targets. Burnjets will be very handy but Crater could get you into trouble since the crowd of enemies you will be creating will cause problems if you land in the centre and don't kill everything outright.
DREADNAUGHT
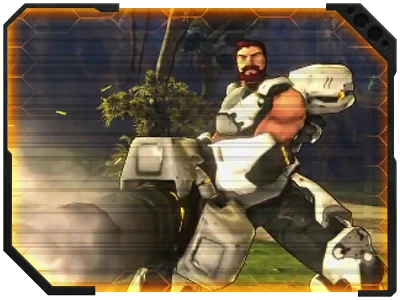
With high damage and low mobility it makes perfect sense for the Dread to be better suited to the Defender role. However with enough fire-power they can function as a Sweeper despite having a lack of mobility. Unfortunately they will always find it harder to engage enemies quickly unless they appear nearby which can lead to more enemies making their way towards the thumper unchallenged.
DEFENDER
The Mammoth really excels in this role due to their ability to use abilities like Thunderdome and have their alt-fire to protect themselves when they are being swarmed. Again the grenade launcher secondary is going to be very useful here and taking an ability like Heavy Armour would be effective in a tight spot.
SWEEPER
Jump jets will have to be sparingly used but fortunately the HMG will do a fine job of helping to maintain aggro which frees up your abilities to get some durability and single target fire-power. Explosive rounds is a great solution here as it will boost your ability to maintain aggro of the crowd and will be great for chewing into tougher enemies. The Rhino will really be in their element as a Sweeper as their alt-fire laser eats Terrorclaws and Threshers for breakfast.
As new battleframes are expected and we will keep this guide updated as much as possible.